Photography Guide: Capturing the Nar Phu Valley's Hidden Beauty
Practical photography tips for the Nar Phu Valley trek, from the best shooting locations and golden hour timing to gear choices and cultural etiquette for this restricted Himalayan region.
Why the Nar Phu Valley Is a Photographer's Dream
Most Nepal trekking photography looks the same — and for good reason. When 30,000 people walk the same trail each year, the same compositions get captured millions of times. The Nar Phu Valley breaks that pattern completely. With fewer than 500 annual visitors, this restricted valley between Annapurna (8,091m) and Manaslu (8,163m) offers scenes that the vast majority of photographers will never see in person, let alone capture on camera.
The subjects here are extraordinary: a 10th-century cliffside village with stone lookout towers, a natural amphitheater cradling an ancient settlement at 4,110m, a 700-year-old Buddhist monastery still in active use, and a 5,320m pass with sunrise views spanning two 8,000-meter peaks. This guide will help you make the most of every photographic opportunity on the trek.
The Three Must-Shoot Locations
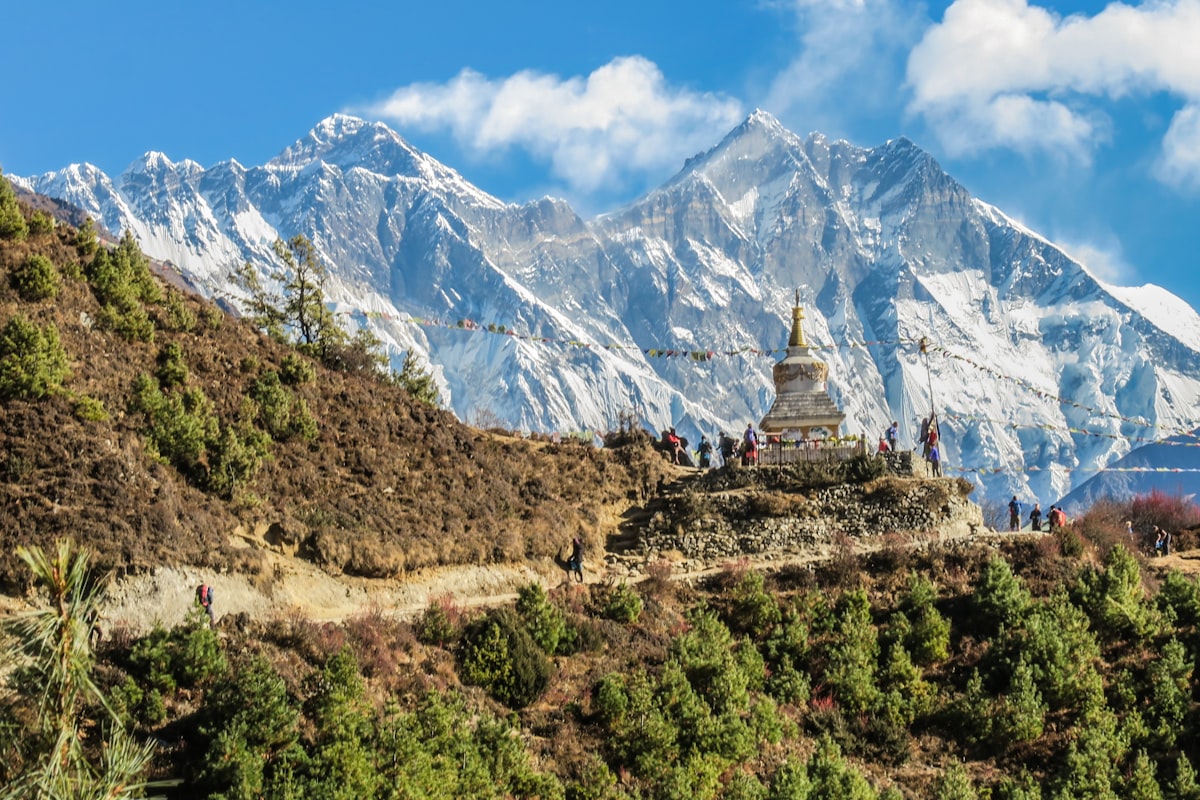
1. Phu Village Cliffside — The Defining Shot
Phu village is the crown jewel of Nar Phu Valley photography. The village of 40-50 stone houses clings to a cliff face above a narrow river gorge, with ancient stone lookout towers rising above the rooflines. Behind it, snow-dusted peaks frame the entire composition.
Best shooting position: The trail approaching Phu from the south offers a sweeping view of the entire village against the cliff. Stop approximately 500 meters before entering the village, where the trail curves around a hillside. This vantage point gives you the classic composition with the village in the middle third and mountains filling the upper frame.
Best light: Morning light (7:00-9:00 AM) illuminates the east-facing cliff and village walls with warm, directional side-light. The stone buildings glow golden against the shadowed gorge below. Afternoon light is flat and less dramatic because the cliff face falls into shadow.
Lens recommendation: A 24-70mm zoom covers both the wide establishing shot and tighter compositions isolating individual buildings and towers. A 70-200mm lets you pick out details — prayer flags strung between towers, smoke rising from a stone chimney, a villager on a rooftop drying barley.
2. Nar Village Amphitheater — The Grand Landscape
Nar village sits at 4,110m inside a natural amphitheater of rock walls and peaks. The geometry of this location is almost theatrical — the village occupies a flat basin surrounded on three sides by soaring ridges that funnel your eye inward.
Best shooting position: Climb the small ridge northeast of the village (about a 20-minute walk from the settlement). From this elevated position, you can capture the entire amphitheater with the village's flat-roofed buildings spread below, prayer flags catching the wind, and the jagged ridgeline creating a dramatic natural frame.
Best light: Late afternoon (3:00-5:00 PM) produces the most striking results. The low sun rakes across the amphitheater walls, creating deep shadows in the gullies while the village catches the last warm light. The contrast between illuminated buildings and shadowed rock is powerful.
Lens recommendation: Wide angle, 16-35mm range. This is a landscape that demands width to convey the scale of the amphitheater. Include foreground interest — prayer stones, a grazing yak, or wildflowers in spring — to create depth.
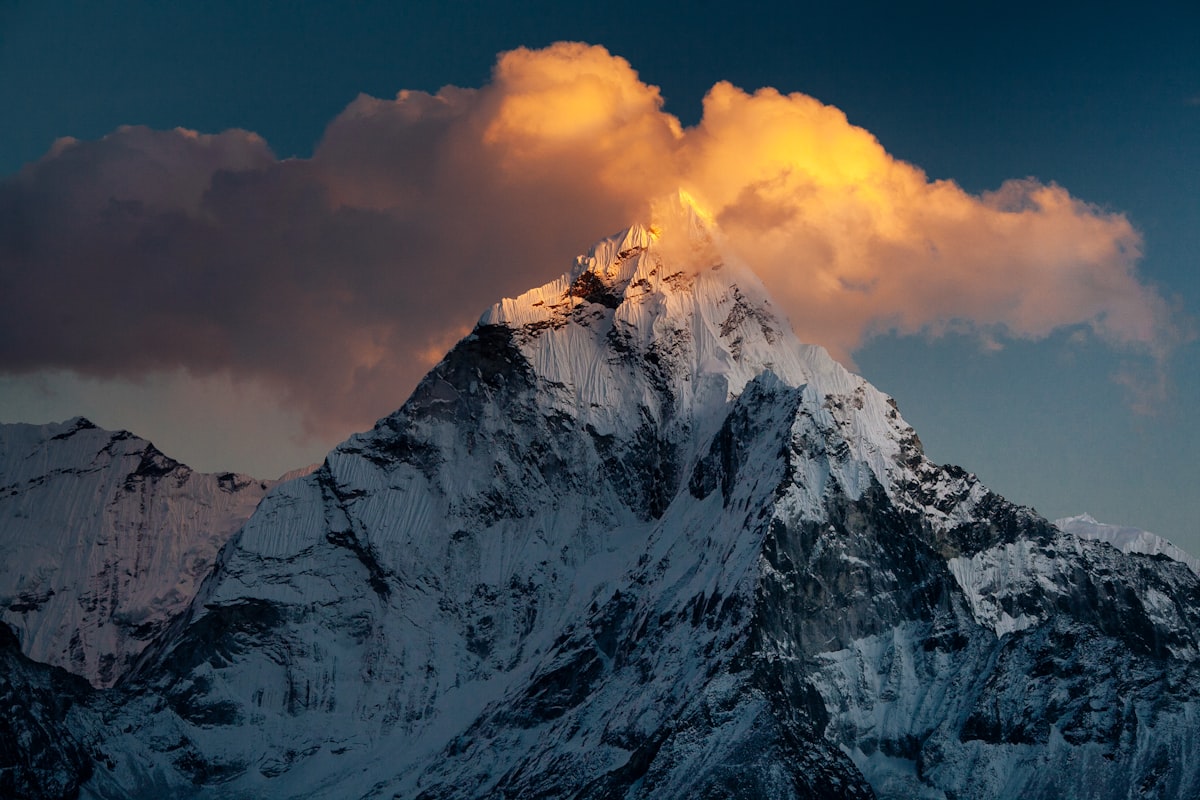
3. Kang La Pass (5,320m) — The Sunrise Panorama
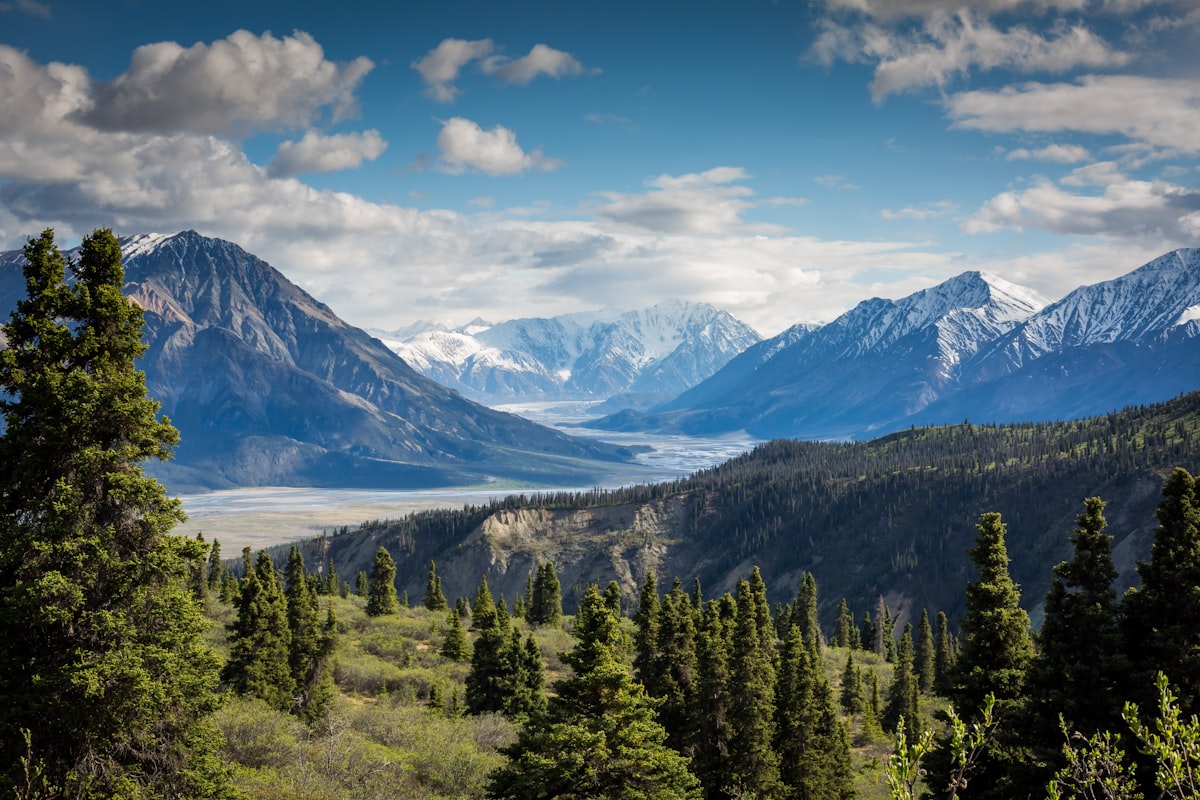
Kang La is the highest point of the trek, and if you time your crossing right, the sunrise from the pass is one of the great Himalayan photography experiences. The panorama stretches from the Annapurna massif to the east to the Manaslu range to the west, with dozens of peaks above 6,000m visible on a clear morning.
Best shooting position: The pass itself is a broad, rocky saddle. Move to the western edge for the clearest view toward Manaslu, or stay center for the widest panorama. Most groups start their ascent at 4:00-5:00 AM to reach the pass around sunrise.
Best light: Pre-dawn blue hour (approximately 5:30-6:00 AM in October) and the first 20 minutes after sunrise. The peaks catch alpenglow — a pink-to-gold progression that lasts only minutes — while the valleys below remain in deep blue shadow. This contrast is the shot you came for.
Lens recommendation: Wide angle for the panorama (16-24mm), plus a telephoto (70-200mm or longer) for isolating individual peaks catching the first light. Shoot both. The wide shot tells the story; the telephoto captures the details.
Camera Gear Recommendations
For Dedicated Photographers
- Camera body: A weather-sealed mirrorless or DSLR body. Cold tolerance matters — at Kang La, pre-dawn temperatures drop to -10°C to -15°C
- Lenses: 16-35mm wide angle + 24-70mm standard zoom + 70-200mm telephoto. If you can only bring two, choose the 16-35mm and the 70-200mm
- Tripod: A lightweight carbon fiber travel tripod (under 1.5 kg) is worth carrying for blue hour, sunrise, and long exposure shots of prayer flags in wind
- Filters: Circular polarizer (essential for cutting haze and deepening blue skies at altitude) and a set of graduated ND filters for balancing bright sky against dark valleys
For Trekkers Who Photograph
- Smartphone with a quality camera — modern flagship phones produce excellent results in good light. Their main limitation is cold weather battery drain and lack of optical zoom
- Compact camera — something like a Sony RX100 series or Ricoh GR gives you manual controls and RAW files in a pocket-sized package
- GoPro or action camera — excellent for video and ultra-wide perspectives on exposed trail sections
Protecting Your Gear
- Keep batteries warm. This is the single most important gear tip for high-altitude photography. Store all batteries in an inner jacket pocket against your body. A cold battery can lose 40-60% of its capacity. Swap in a warm battery just before shooting
- Use a rain cover or dry bag for your camera bag. Even in dry October, unexpected snow squalls hit above 4,500m
- Bring lens wipes. Dust is constant on the trail, and temperature changes cause condensation when you move between warm teahouses and cold outside air
- Carry a minimum of 3 batteries and enough memory cards for 2,000+ RAW files. There is no way to buy replacements between Chame and Manang
Cultural Photography Etiquette
This is not negotiable — the Nar Phu Valley is a culturally sensitive restricted area, and your behavior as a photographer directly affects how future trekkers are received.
Always Ask Permission Before Photographing People
The villagers of Nar and Phu are not tourist attractions. Many are elderly residents who have lived their entire lives in these remote communities. Some are happy to be photographed; others prefer not to be. A simple gesture toward your camera with raised eyebrows and a smile is universally understood. Wait for a nod or smile before raising the lens.
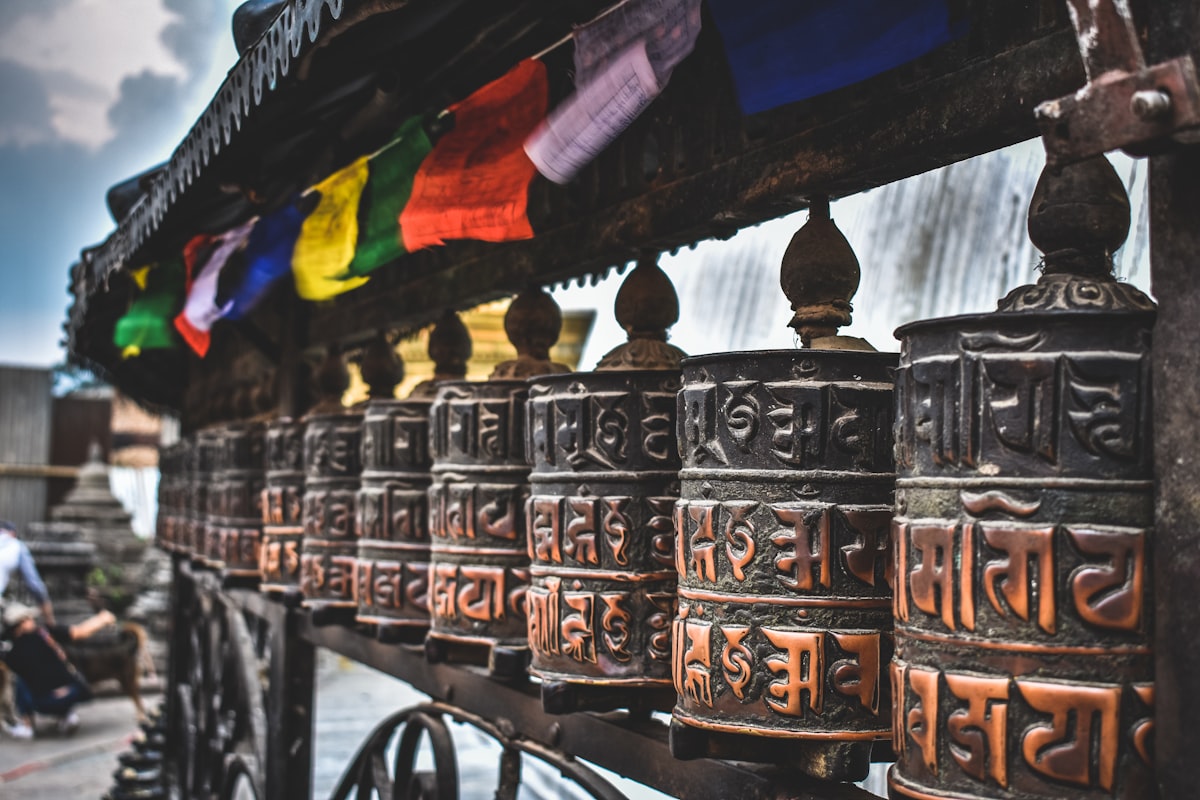
Respect Religious Sites
The Tashi Lhakhang monastery in Phu village is over 700 years old and remains an active place of worship. Ask permission before photographing inside. Never photograph monks during prayer without explicit consent. Remove your shoes and hat when entering.
Offer Prints, Not Money
If you photograph a villager and want to give something in return, offer to mail or send a printed photo. This is valued far more than money and creates a positive association with visiting photographers. Some agencies can help arrange delivery on subsequent treks.
Drone Restrictions
Drones are restricted in the Nar Phu Valley restricted area. Do not fly a drone without explicit permission from local authorities and your trekking agency. The fines are significant, and the noise disturbs both wildlife and the quiet atmosphere of these ancient communities. The best Nar Phu Valley photographs have always been taken from ground level — the compositions are stronger when you work within the landscape rather than above it.
Shooting Techniques for High Altitude
Dealing with Extreme Contrast
The Himalayan light at 4,000-5,000m creates punishing contrast — deep shadows in valleys with blindingly bright snow on peaks. Your camera's dynamic range will be tested.
- Bracket exposures (3-5 shots at 1-2 stop intervals) for later HDR merging on important landscapes
- Expose for highlights when shooting snow-capped peaks. Recovering shadow detail in post-processing is easier than recovering blown highlights
- Use a graduated ND filter to darken the sky by 2-3 stops while keeping the valley correctly exposed
Capturing Scale
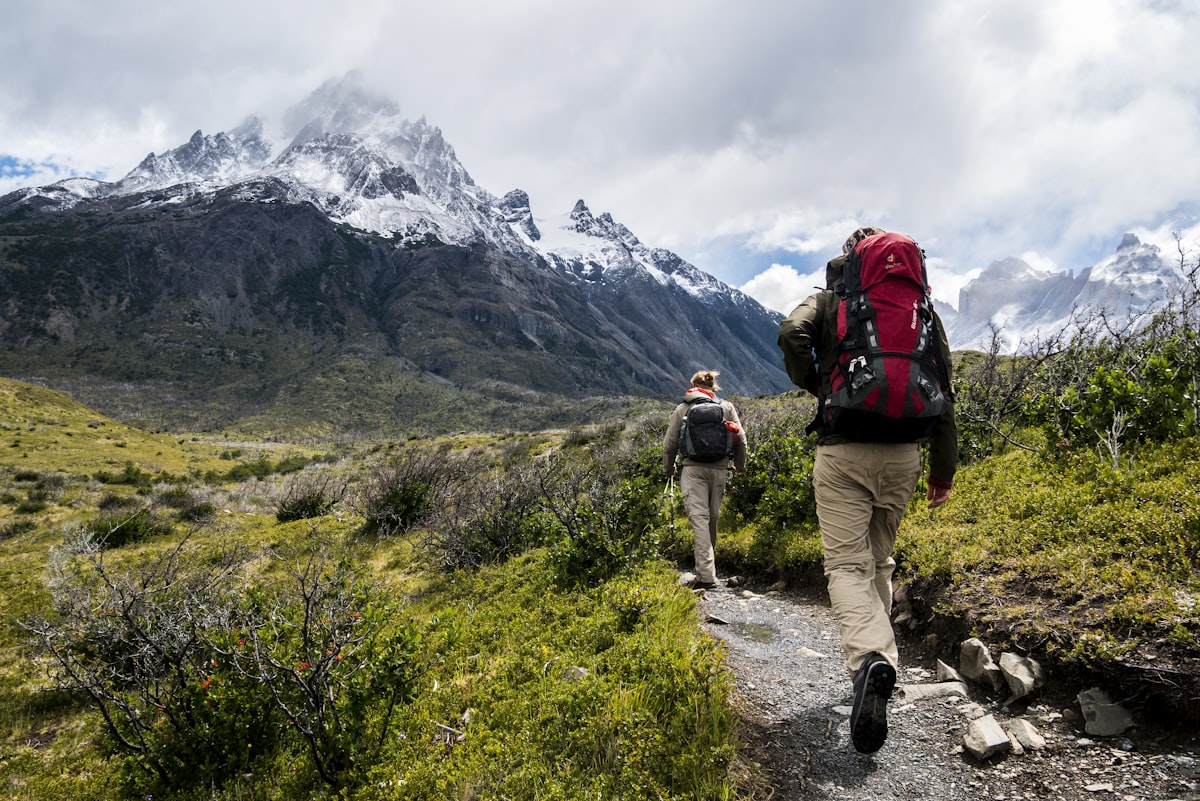
The Nar Phu Valley's grandeur is difficult to convey in a two-dimensional photograph. Mountains that towered overhead in person can look small and flat in an image.
- Include human figures in landscapes for scale. A trekker on a trail with a massive peak behind them immediately communicates the enormity of the environment
- Use foreground elements — prayer stones, a wooden bridge, a grazing yak — to create depth layers that lead the eye from near to far
- Shoot in portrait orientation more often than you think. Vertical compositions emphasize the height of peaks and the depth of valleys better than standard horizontal framing
Working in Cold
At Kang La, your fingers will be numb within minutes of removing gloves. Practice operating your camera's essential controls — shutter release, exposure compensation dial, ISO button — with glove liners on. Know your camera by touch so you can work without looking at buttons.
Post-Processing Notes
The Nar Phu Valley's color palette is distinctive: muted earth tones of stone and dry grass, vivid prayer flag colors, deep blue skies, and white snow. Resist the temptation to over-saturate. The valley's beauty lies in its subtlety and austerity. Increase clarity and contrast to bring out the texture of ancient stone walls. Warm the shadows slightly to convey the golden quality of high-altitude Himalayan light. Let the images breathe.
Final Advice
The most important photography tool in the Nar Phu Valley is patience. The light changes constantly in the mountains. A scene that looks flat at noon can become extraordinary 30 minutes before sunset. Wake before dawn. Stay out after the rest of your group retreats inside. The Nar Phu Valley rewards photographers who are willing to wait for the right moment — and with fewer than 500 people seeing these scenes each year, the images you create here will stand apart from the thousands of Himalayan photographs published every week.